|
|
|
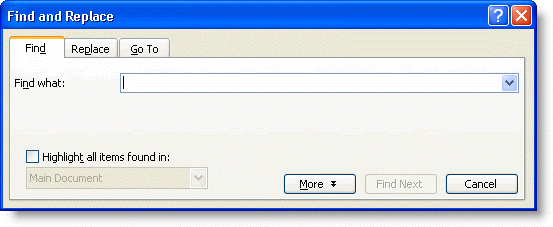
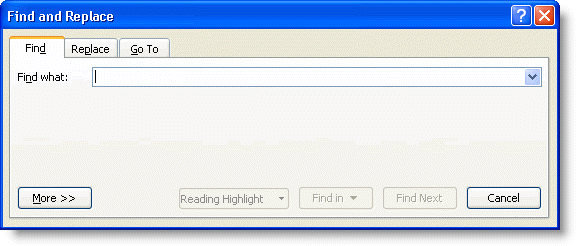
Does it sometimes seem that Word is playing Hide-and-Seek with you? A problem is caused by something in your document, but you can’t find it. Or you know that a certain text string is in your document, but you can’t find it. Enter the humble Find dialog, which is one of the most powerful features in Word. No doubt you’ve seen this dialog (or its big brother, Replace) and perhaps used it, but you may be unaware of some of its more arcane uses, which are the topic of this article. I don’t intend to address the use of wildcards, which are more than adequately dealt with elsewhere, nor will I describe the simpler uses of the dialog. Rather, I will present several common and a few relatively rare scenarios that can be handled using this dialog. These include the following: The Find dialogLet’s start by taking a look at the dialog as it appears in Word 2003 and Word 2007. Although you can launch the dialog using Edit | Find in Word 2003 and earlier or with Home | Editing | Find in Word 2007, the easiest way to open the dialog in any of these versions is with the keyboard shortcut Ctrl+F. The results are shown in Figures 1 and 2 below.
Figure 1. The Find dialog in Word 2003
Figure 2. The Find dialog in Word 2007
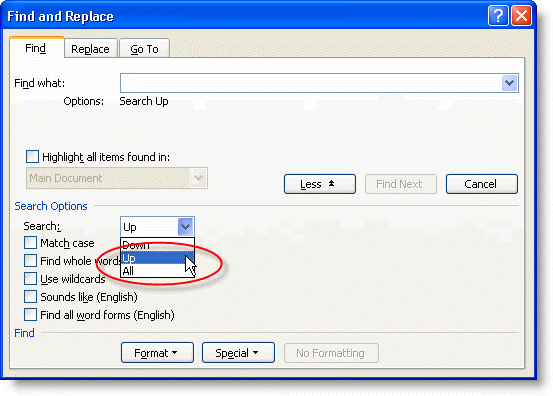
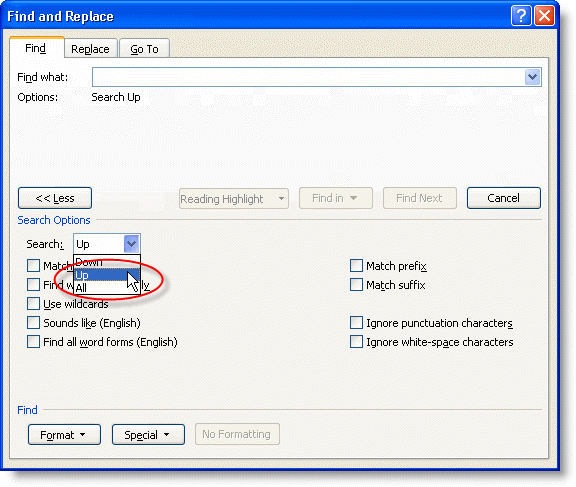
The simplest use of the dialog is pretty straightforward. You type some text into the “Find what” box and click Find Next. Word selects the next occurrence of this text that it finds in the document. As long as the Find dialog remains open, the Find Next button remains enabled, and you can press Enter to continue finding subsequent instances of the sought text. The search direction is always Down. Suppose you want to go back to a previously found instance, however. There are two ways to accomplish this:
Figure 3. The expanded Find dialog in Word 2003 showing direction dropdown
Figure 4. The expanded Find dialog in Word 2007 showing direction dropdown (similar in Word 2010 and above)
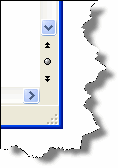
Figure 5. The Browse buttons in Word 2003
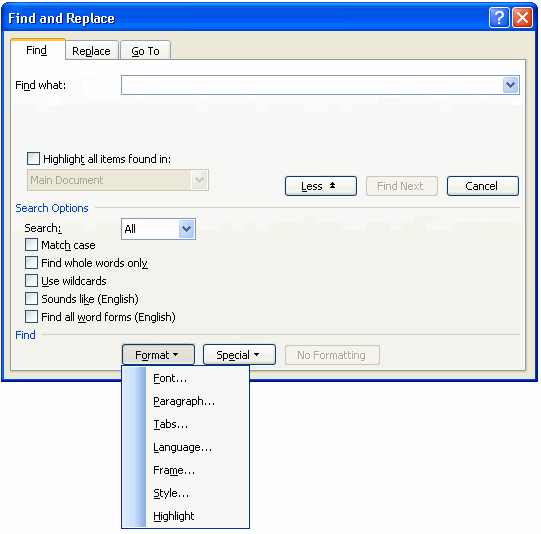
Finding formattingEven if you’ve used the Find dialog to search for specific text, you may be unaware that you can search for all text that has specific formatting. This can be accomplished through the expanded Find dialog.
Figure 6. The Format menu in the Word 2003 Find dialog (very similar in Word 2007 and above) Some of the formats you can search for can be entered with familiar keyboard shortcuts such as Ctrl+B (Bold), Ctrl+I (Italic), and Ctrl+U (Underline), but you will find that they have a slightly different result in the Find dialog. Instead of being straightforward on/off toggles, they have three states. If you press Ctrl+B once in the “Find what” box, you will get “Format: Bold.” Press it again and you will get “Format: Not Bold.” Press it a third time to clear the formatting (you can also click the No Formatting button to clear all formatting from the “Find what” box). There are several common scenarios where being able to search for formatting can be helpful, as described below. Replacing formattingOften the purpose of searching for formatting is to find text with one format and replace the formatting with something else. For example, you might want to search for underlined text and format it as italic:
Or you might want to find all the text that is 16-point Arial Bold and apply the Heading 1 style. There are actually two ways to do this. The first way is to actually replace the formatting:
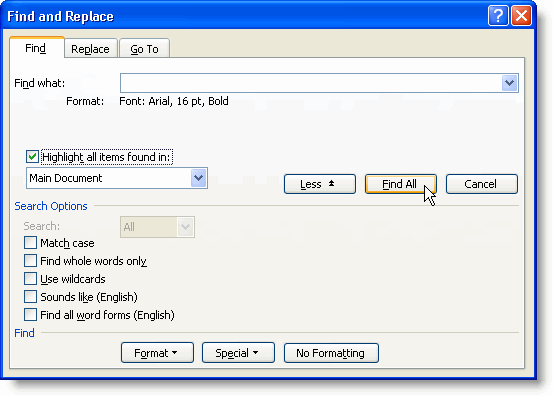
Figure 7. The Replace dialog The second way is to use the Find dialog’s ability to select all the search results at once. Note: This feature is found only in Word 2002 and above.
Figure 8. Word 2003 Find dialog showing Find All
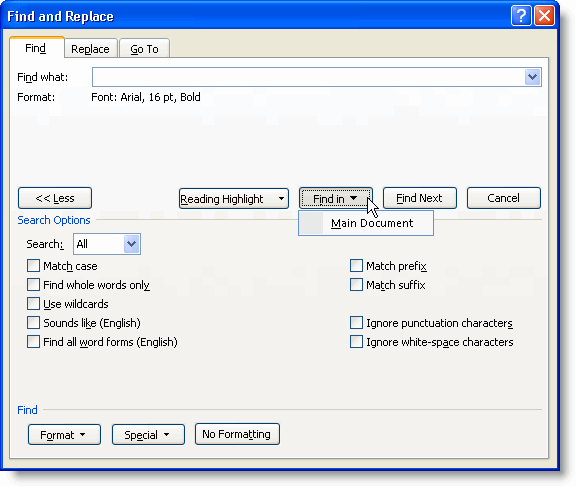
Figure 9. Word 2007 Find dialog showing Find in
Copying selected text to another documentUsers often ask to copy all the results of a Find operation and paste them to a new document. Obviously, if you were just searching for a specific word, you would not want to paste it umpteen times. Where this comes in handy is when you are searching for all the text that has a certain pattern (for example, using No. ^#^# to search for the text “No.” followed by two digits) or when you’re searching for specific formatting (such as all italicized text). For this you can use Find All or Find in as described in the previous section.
Blank results of StyleRef fieldsIn this scenario, you have inserted a StyleRef field in the document header (perhaps to pick up a given heading level), but the result of the field is blank. Or perhaps you have inserted a table or figure caption using the “Include chapter number” option, which relies on a StyleRef field to provide the paragraph number of the selected heading style, but captions are showing 0 instead of the expected heading number. The cause in both cases is almost always the existence of an empty paragraph in the referenced style. This can be a result of pressing Enter twice following the paragraph the StyleRef field is meant to reproduce. This is less likely to be a problem if that paragraph is in one of Word’s built-in heading styles, because the “Style for following paragraph” of all heading styles is Normal (for this reason, problems with captions are relatively rare). But if your StyleRef field refers to some other style, then pressing Enter at the end of the paragraph will produce another paragraph in the same style. If that paragraph is left empty, then it is the one the StyleRef field sees. It is usually not too difficult to visually scan your document for such empty paragraphs (with nonprinting characters displayed), but sometimes they can be extremely elusive, and this is when it can be much more effective to use the Find dialog to search for paragraphs in the referenced style. For example, I examined one document in which users were expected to type information (a person’s name, for example) in a table cell formatted with a specific style, and that name was repeated later in the document using a StyleRef field referencing that style. The only problem was that the StyleRef field was coming up blank. At first blush, it appeared that everything was as it should be. But then I used Find to search for the referenced style and realized that it was being found twice, once in a paragraph I could see and again in one that wasn’t visible. At this point, with nonprinting characters displayed, I realized I was seeing something I shouldn’t be seeing in the table cell: a paragraph mark. The user who had typed in the cell had absent-mindedly pressed Enter at the end of the entry. This created an empty paragraph (terminated by the end-of-cell marker) in the referenced style. The only problem was, that paragraph wasn’t visible because the table row had been set to an exact height that permitted only one line of text to be displayed. Once I deleted the paragraph break, the StyleRef field behaved as expected. Other useful things to findMissing or invisible footnotes/endnotesIn another scenario, you may be having problems with footnote or endnote numbering that is incorrect. There are a couple of preliminary issues to check on:
If neither of these is the problem, and especially if you have an empty paragraph between two notes that you are unable to delete, then the cause is usually a footnote reference left in the document body after the footnote text, together with the reference mark, has been deleted. If some of the footnote reference marks have been formatted as Hidden in order to combine several notes (for example, to show “22–24” instead of “22, 23, 24”), it will usually suffice to display Hidden text (using the Show/Hide ¶ button) and look in the appropriate place. But sometimes note references can also be elusive, especially if the document creator has inserted a note with a funky “custom” reference mark, such as a space. When that happens, you can search for the note using the Find dialog.
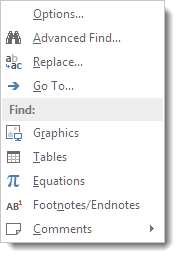
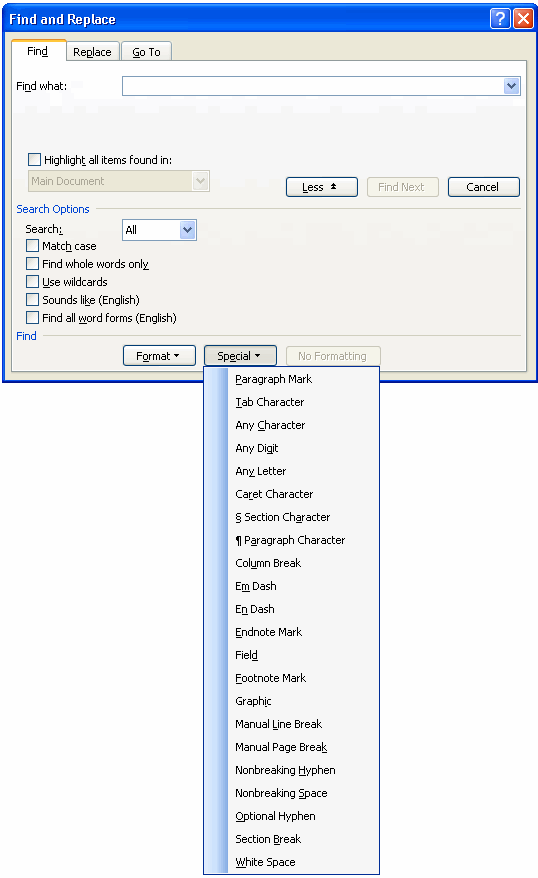
Figure 10. The Special menu in the Find dialog in Word 2003 (identical in Word 2007 and above)
Elusive section breaksIn this scenario, you are having problems with page numbering or formatting that appears to be caused by an elusive section break. Usually you can spot section breaks more easily if you switch to Normal view (Draft view in Word 2007 and above) and display nonprinting characters, but occasionally they will still hide successfully. In such cases you can use the Find dialog to search for section breaks (you can also search for manual page breaks).
Text that has been skipped by the spelling checkerThis scenario is one of the most intriguing I have ever encountered. A user, upon running the spelling checker, kept getting the message shown below.
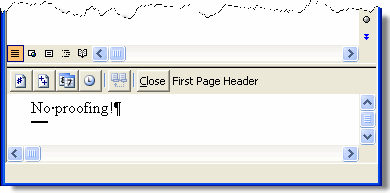
Figure 11. Spelling checker message box The user had done everything right: she had used Ctrl+A to select the entire document, then gone to Tools | Language | Set Language (Review | Proofing | Set Language in Word 2007; Review | Language | Set Proofing Language in Word 2010 and above) and made sure that the “Do not check spelling or grammar” box was clear. Knowing that Ctrl+A selects only the main document layer, she had also made sure that all the text of the header and footer and the content of any text boxes had been cleared of culpability. But she continued to get this message. Where was the text that was being skipped? When I examined the document, I used Find to search for this elusive text. As described above in “Finding formatting,” I used Format | Language to specify “Do not check spelling or grammar.” The result was mystifying. Instead of selecting a search result in the document itself, Word opened a pane at the bottom of the window, similar to the footnote or comments pane (see Figure 12). I have subsequently learned that Word routinely does this if you begin a search from the document layer and the search result is in a header or footer. (Ironically, in this case, a search begun from the header would not have found the elusive text.)
Figure 12. Results of search for “Do not check spelling or grammar” It took me quite a while to realize what I was seeing. At the top of the pane was the description “First Page Header.” The document in question did not have “Different first page” enabled for headers and footers, so the document did not have a visible First Page Header. At some time, however, someone had created a First Page Header in that document, and, although it was no longer in use, Word still knew about it, and it contained text that was formatted as “Do not check spelling or grammar.” When this text was deleted from the header (which had to be enabled temporarily for the purpose), the problem was solved, and the message no longer appeared. [1]In Word 2002 and 2003, you can accomplish the same thing using the Styles and Formatting task pane, but only if you have “Keep track of formatting” enabled in Tools | Options | Edit. Click in a paragraph with 16-point Arial Bold formatting, right-click on “Arial, 16 point, Bold” in the task pane, and click on “Select all x instances.” Then click on Heading 1 to apply the style to all the selected text. In Word 2007 and above you can use the same procedure in the Styles task pane, but again you must have some options enabled: click Options at the bottom of the task pane to open the Style Pane Options dialog. Under “Select formatting to show as styles,” you would, in this example, have to have at least “Font formatting” checked. Note, however, that the Replace method will work in any version, regardless of what style pane options you have enabled, and of course you still need to use Replace to replace formatting that is not defined as a style. This article copyright © 2010, 2011, 2014, 2023 by Suzanne S. Barnhill. |